Background
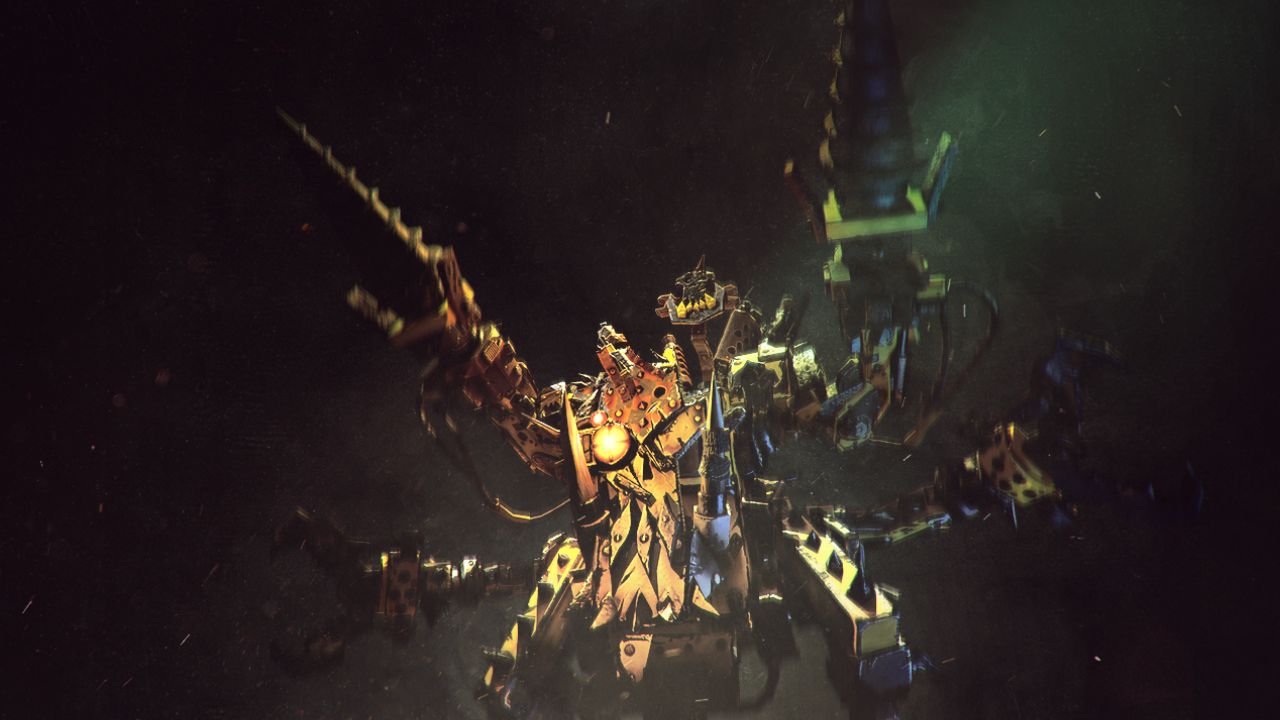
The Mad Dread is an Elite Deff Dread outfitted with two gigantic drills, perfect for boring its way underneath the battlefield. This complicated piece of Ork technology is as ramshackle as they come, but don’t be fooled by its rickety appearance.
The Mad Dread is sturdy - built to take weighty hits and return them in kind with a quick flurry of cleaving blows. Perhaps its best claim to fame is its ability to dig an underground tunnel, which allied units can use to quickly get from one side to the other. This makes the Mad Dread particularly useful at quickly getting Orks past difficult terrain, directly into the unsuspecting ranks of their enemies.
Attributes
High health
High mobility
Abilities
Tunnel
The Mad Dread digs a tunnel between itself and the target position. Allies can right-click on either side to teleport to the opposite end. Upon exiting the tunnel, the Mad Dread does damage and knocks enemies back. It can also run through enemies for a short duration.
Loot
The Mad Dread heals when he walks over scrap.
Rampage (Passive)
Upon taking lethal damage, the Mad Dread gains a temporary shield and generates Fury based on the damage it deals. Reaching maximum Fury heals him. If the shield breaks, it will die. The Mad Dread cannot heal from scrap while in this state.
Cleave (Passive)
The Mad Dread attacks in a cleave, damaging all nearby enemies.
Critical Strike (Passive)
Every sixth melee attack is a devastating blow, damaging all enemies in a circle around it.
Playstyle
The Mad Dread lends itself well to hyper aggressive playstyles. Commanding this unit well requires focus, but the devastation that the Mad Dread brings is undeniable. A great addition to the Orks’ already-strong front line, the Mad Dread is well-equipped to root out enemy vehicles and bring its friends along for the ride.
Although its tunneling capabilities are fearsome, you can destroy one end of the tunnel by focusing the fire of your units. Trapping the Mad Dread by destroying its escape route is a great way to limit its effectiveness.
When you pull off a great Tunnel though, the Mad Dread is hard to take down. And because it heals when it comes into contact with scrap (ally or enemy), sending it against enemy vehicles only makes it more capable in a sustained fight.
The Mad Dread has one final trick up its sleeve - upon taking lethal damage, it gains a shield. If it generates enough Fury - which is based on the damage he deals while in this state - he will heal. If the shield runs out before enough Fury is gained, though, the Mad Dread will die. This epic last-WAAAGH moment is appropriately Orky - the Mad Dread tearing through enemies with giant swipes of its drills, smoking and sputtering from all angles as it works itself up into a frenzy in a final bid for survival.
Which Ork units would you send through the Tunnel with the Mad Dread? Discuss your strategies in the forums!


